CGuy's Array modifier tutorial
Note: Requires Blender 2.42 Completion Time: 30 mins
This Tutorial is a beginner-intermediate tutorial. It assumes that you know how to move/scale/rotate, Etc… I would recommend following the tutorial fairly closely the first time through but after that, feel free to play around with any of the settings. Most of the settings are approximate and will create new and cool effects if you play around with them.
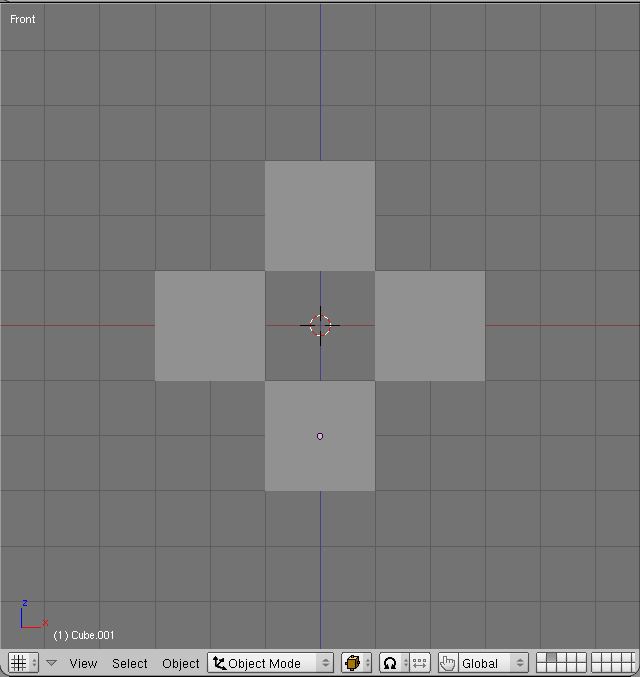
Add a cube in front view (numpad 1). Duplicate(Shift+D) and move four cubes into the position shown in figure 01.
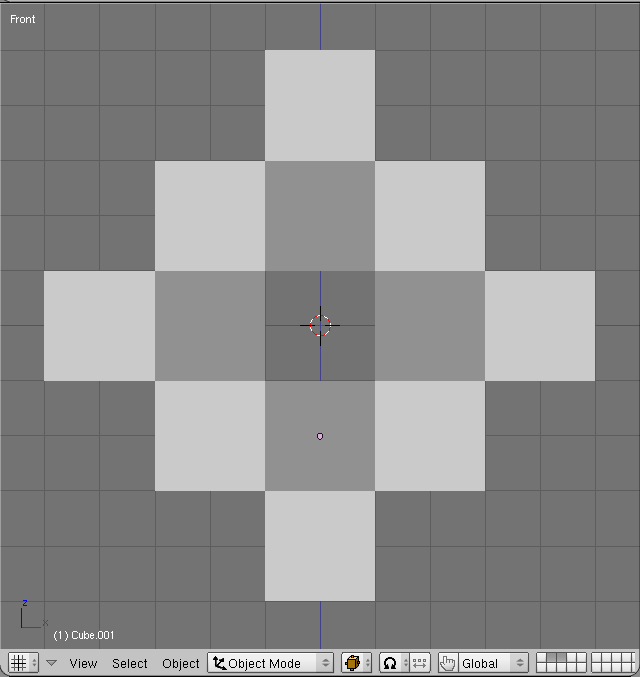
Then, duplicate and move eight more cubes as shown in figure 02.
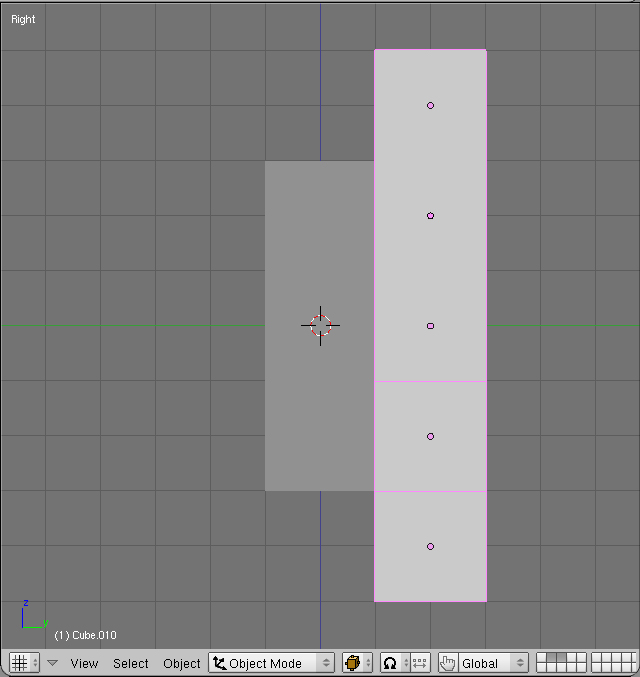
In side view(numpad 3), move the eight cubes on the Y-axis(to the right) two blender units (figure 03).
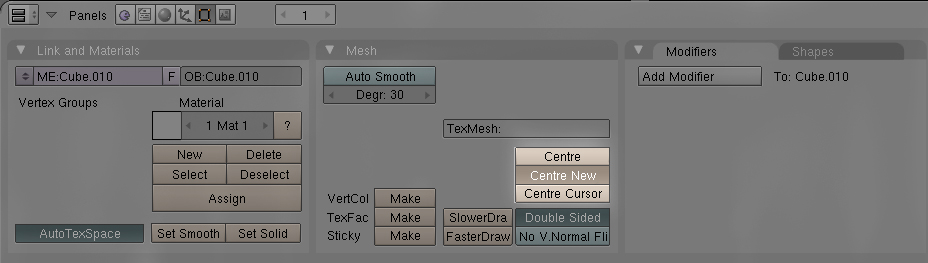
Select all of the cubes and join then together(Ctrl+J). In the buttons window, under editing(F9), click on the "Centre New" button(figure 04) to reset the object center.
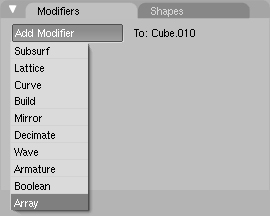
In front view, add an Empty. With the cubes selected, in the buttons window, under editing(F9), add an array modifier(figure 05).
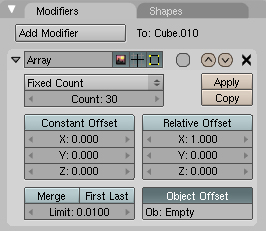
Set all settings as shown in figure 06, making sure to select Object Offset and put in the name of the Empty.
In side view(numpad 3), move the empty (to the right) on the Y-axis five blender units,
or until it is a seamless repetition(figure 07). 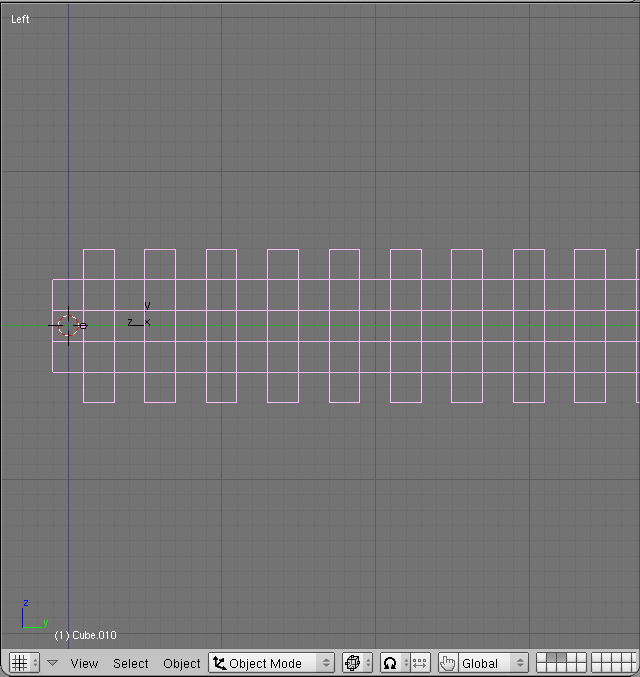
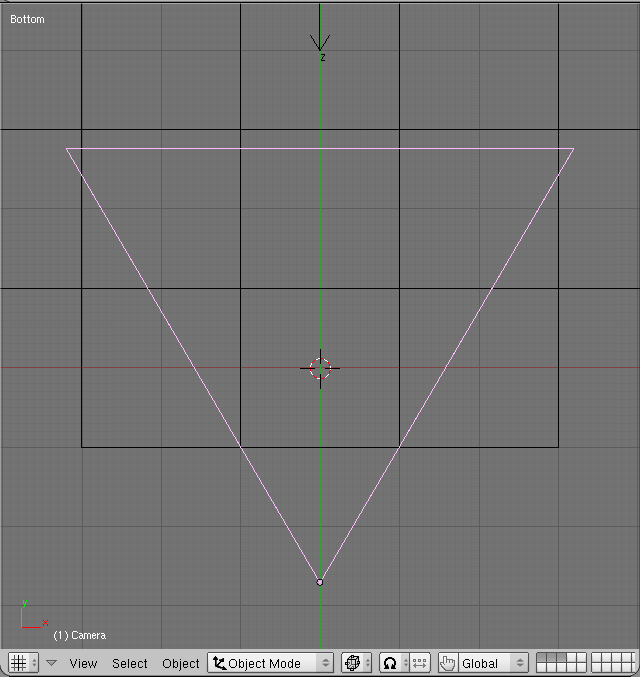
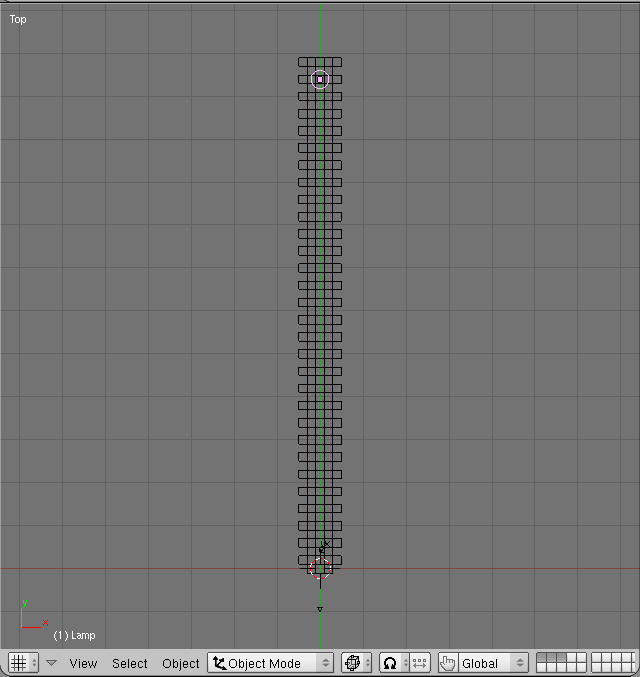
Place the camera so that it is pointing through the tunnel of cubes straight along the Y-axis. In top view(numpad 7), move the camera so that the view is within the first cube(figure 08).
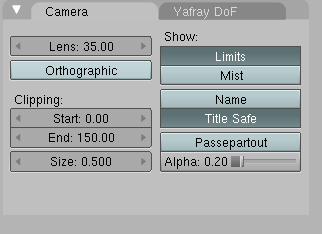
With the camera still selected, in the buttons window, under editing(F9), set the end clipping value to 150(figure09).
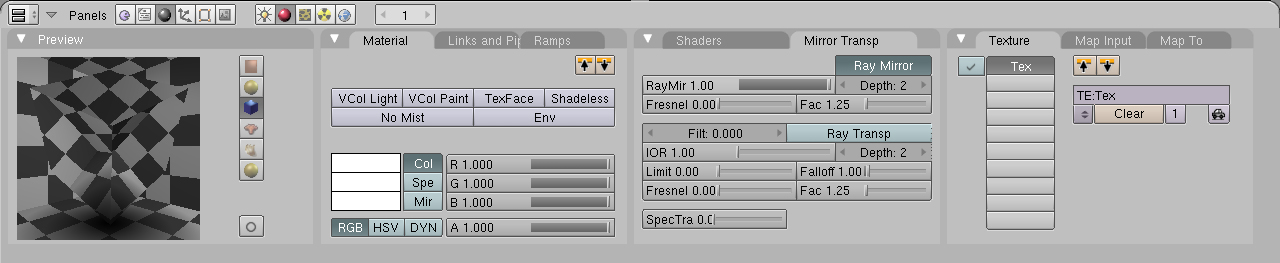
With the cube tube(hey, it rhymes!) selected, in the buttons window, under materials(F5), set all settings as shown in figure 10.
Under world settings, set the color to R:1.000, G:0.900, B:0.700. In top view(numpad 7) add a point light at the far end of the tunnel(figure 11). Under lamp settings(F5), Set the color to (R:1.000, G:0.900, B:0.700), the energy to 3.0, and the dist to 120.
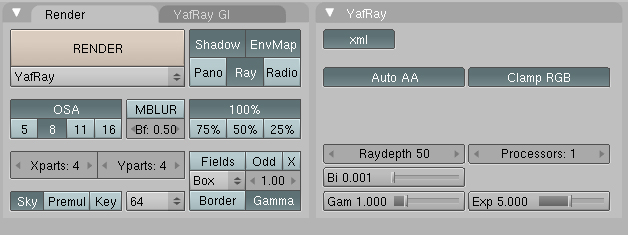
Under the render settings(F10), set the renderer to YafRay, and set the rest of the settings as shown in figure 12.
Render and enjoy!
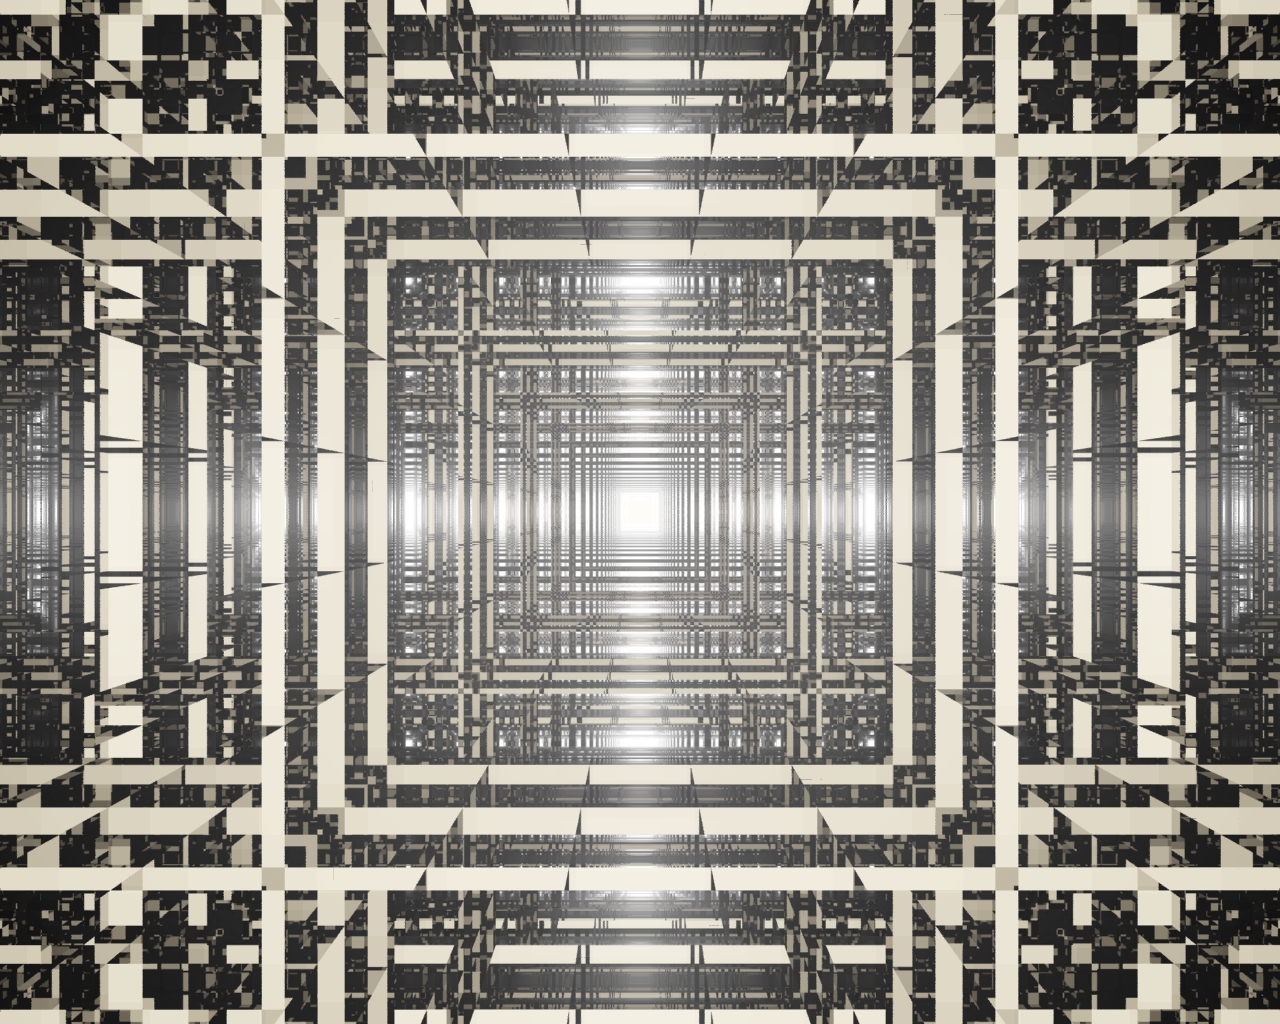
For some more fun with this array setup, you can rotate the empty on the Y-axis for a really neat effect. You could scale the empty down a hair and have the tunnel scale down as it goes on. Again, feel free to play with any of the settings. The settings shown, are "more like guidelines", and you can get some really cool effects by changing one or two settings! If you have any questions, comments, or you just need someone to talk to, please feel free to e-mail me at amazing@repairman.com.