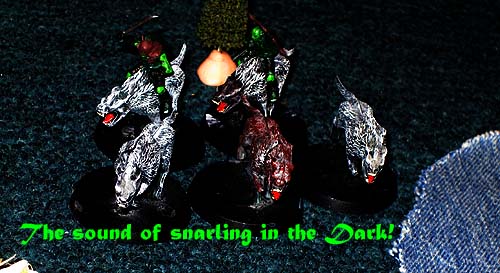
Sprinter hardly needed to shake Springer awake. "They're here," he said simply.
The experienced rangers called in their night patrol fairly quickly,
but upon reaching the camp, found the dwarves with their preternatural
ability to fight in the dark already on the move.
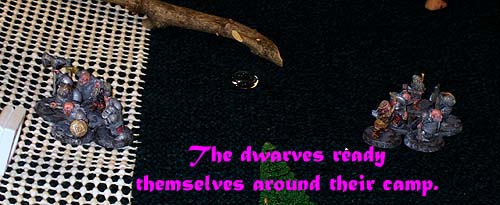
According to the plan, well-rehearsed now on its third iteration, the fighters moved north to where they knew the warg-riders
would be attacking from. The dwarf archers remained at the camp,
crouched behind a large log.
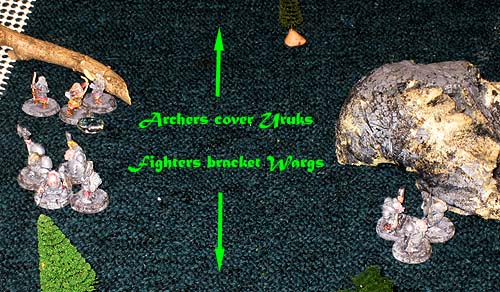
Turn 1
The wargs were not so easily trapped, and once they realized they faced nearly the entire enemy force, attempted to flee.
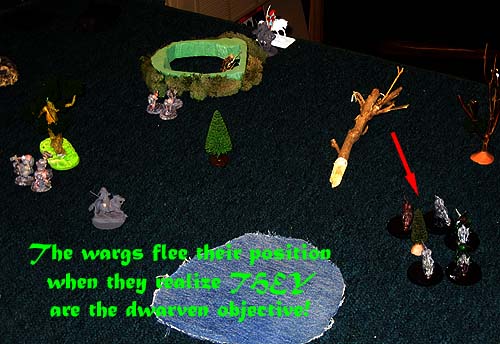
Turn 3
Alone with his spearman, Ambler in the east was the only obstacle to
the wargs' escape. They charged him furiously, but, thinking quickly,
he bottled them up between a rock and a log. One warg charged around
the rock, but was unable to reach the ranger, while the other
prevented Sprinter from charging up the other side.
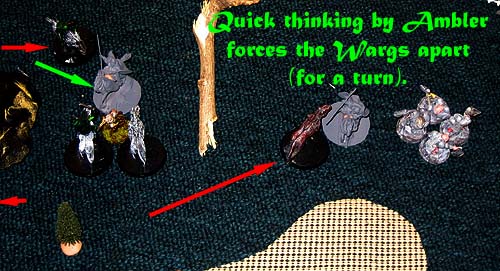
Turn 7?
The spearman dropped, and Ambler found himself surrounded by the enemy,
but it was too late for the wargs. The dwarves, led by Sprinter,
spilled ponderously over the log, axes flashing. With a snarl, the
biggest warg-rider lashed out with a blow that should have severed
Ambler's head from his neck, but somehow the weapon snagged in the
ranger's hood and simply left an ugly welt.
The combined forces soon dispatched the last rider, but now the archers
drew near, carrying a wounded comrade. "Hardy shot down three Uruk, but
they seem to have more troops than before," reported Laurel.
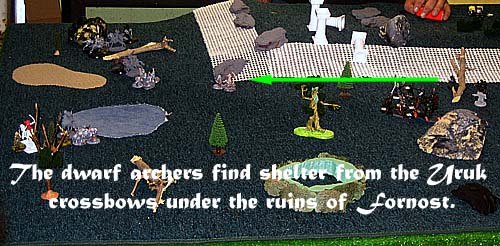
Turn 7? Big Picture
Rocky considered his options. Without range, numeric, position, or move
superiority, the likelihood that his forces could turn around and
retake their camp seemed rather remote. With a sigh, he announced,
"Let's form up by the river and wait for a better opportunity to deal
with them." Accordingly, the rangers formed a perimeter, and the Blue
Mountain Boys moved out.
Battle notes:
This battle was the exact reverse of Fangorn 1. Now I was trapped
between Heath's two forces, and the smaller one moved twice as fast as
mine. Would I be able to back my critiques of the way he played it with
more success?
The plan was to string the dwarves and rangers across the table to
entangle and dispatch the warg-riders, then turn around and, under
cover of dwarf shields, advance upon the Uruks. The arrival of a
further battle group of Uruks under Lurtz made this plan look less
tenable, but the kicker was the Night Raid tactic Heath took. Now that
there was an objective at the center of the table, I could not range
freely and win. On the other hand, if I just sat on the objective, I'd
have no cover, get shot to pieces with the crossbows, and suffer
cavalry charges to my rear. Oh, and my rangers' range with bow was
halved, so I couldn't retaliate against his bow fire. I wasn't allowed
to retreat, so basically it was a guarranteed win for Heath.
Having made this determination, I decided to abandon the game, effect
what damage I could, run up my troops' experience, then run off the
table. Forced to concentrate my forces by scenario setup rules, the
wargs had a fair chance to run off, but I gained a couple turns before
Heath realized what I was doing, then managed to use a single ranger to
engage them (after winning Heroic Move roll-off) until the bulk of my forces arrived.
The ranger archers managed to pick off a Warg, despite missing 2/3 of
their shots. My dwarf expert archer did much better, rolling a 6 to
wound on three of the four shots he was allowed under the steady
advance of the crossbows. Needless to say, he was promoted!
After I'd exterminated the Warg company, I had fifteen troops against
sixteen entrenched Uruk including Lurtz and seven crossbows. Heath
having won the game (and province) regardless, the slow-moving
dwarves limited to committing to direct assault, and my rangers being
ranged, I think my decision to simply run was sound.
