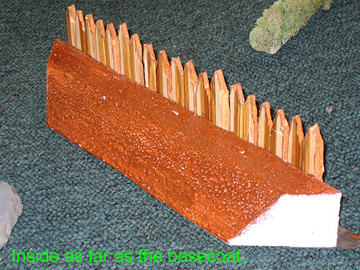
Wooden Palisade
This project is to construct a realistic sized palisade wall section. I
wanted it three inches high to keep warriors from climbing it, a
one-inch walk an inch and a quarter below the top of the logs for
defenders to just peer over, an earthen slope on the inside to simplify
modelling (no retaining wall to make), and a small retaining pile of
dirt at the bottom of the logs on the outside for durability and
realism (logs would have been historically about two inches long in
scale).
After several attempts at a design, I settled on 2-inch extruded
styrene insulating foam and 1-inch wide styrene batons for the logs
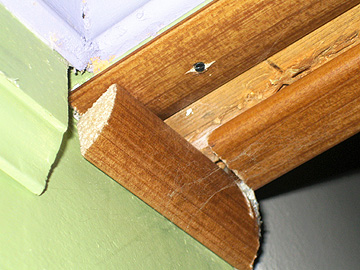
instead of ye olde corrugated cardboard. Styrene molding has become a
favored building material. It's easy to cut, melt, chop, glue, and
nail, a dollar or two per eight-foot length, and it is already finished
to look like wood. This inept home molding project is how I
rationalized buying some (also showing quarter round and L beam)...
Materials
2-inch extruded styrene insulating foam
1-inch wide styrene batons
Krylon Fusion spray paint
Glue
Tin, plastisheet, or MDF basing material
Acrylic modeling paste
Paints
Kels Magic Sauce or Wonder Wash or other quality wash
Tools
Foam cutter
Foam cutter guide made from tin cleats taped together
T-square
Paper bag
Wood Chisel
Rubber Deadhead Mallet
Tin snips
Steps
The Core
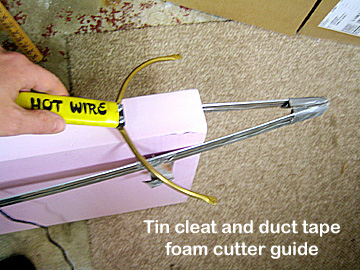
First I squeezed my foam sheet into my cutter guide. The guide is taped
at both ends, so clamps itself on to most 4-foot boards. I made sure
each of the four points of contact were 1.75 inches from the edge.
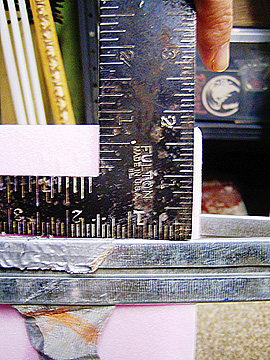
Now to make the cut...
I add 45-degree cuts so it can form corners with other sections.
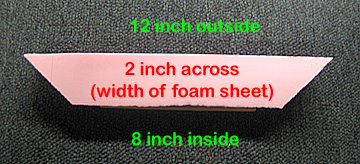
Now I cut the inside slope down from the defenders' walk. I position my
foam block just inside the metal rim of my work table (to keep the
sharp angle of the cut blunt for durability) and put my metal ruler one
inch in on the other side. Thus I create an angled guide for my cutter.
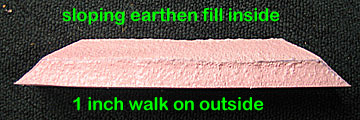
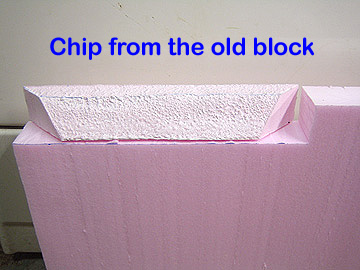
Let's catch that handsome profile (somewhat marred by spray paint!).
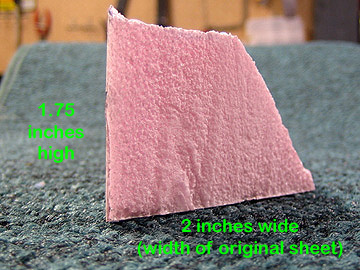
Speaking of my "weathering" technique... We need to base coat the foam
before applying the batons, because they are already finished, and we
don't want to get paint on them. I tried to use plastic-friendly spray
paint, which ain't so
friendly to foam, but it's great for weathering effect. I plan to
experiment with glue or acrylic resists on my next attempts. For now, I
narrowly avoid being overcome by the fumes bubbling out of my terrain
feature. The result is a great piece for painting all muddy and
dry-brushing in some rocks.
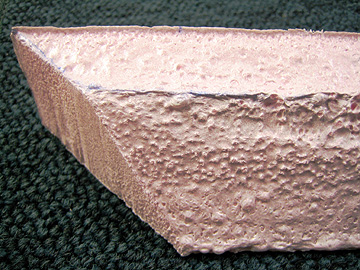
Et voila, ready for facing with logs:
The Facing
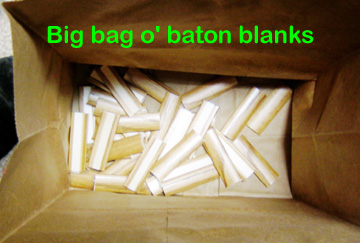
First I cut my molding into twenty-four three-inch blanks. I started by
melting them with my foam cutter, but in an inspired moment realized
that a chisel was much faster. Note: put up a paper bag to avoid
shrapnel. I never did recover that first piece...
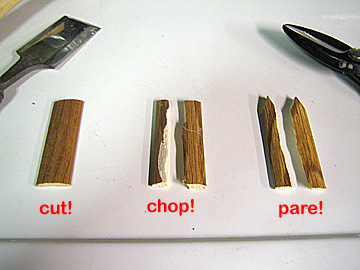
At first I was going to simply paste the blanks to the block. At one
inch wide, they're conveniently sized to hide a warrior behind each,
but look unrealistically thick. Hence, I resorted again to my chisel to
chop them in half lengthwise. This was a messy job--just great for
building stockades that have weathered an assault or two. A coat or two
of wash on the rough edges will make them really perk up.
Palisades typically used sharpened logs. I oblige with my favorite tool: the tin snips.
Next I cut out the base and glued it onto the front of the block. I
couldn't remember why I had designed it so wide until I saw how much
room the batons took on it. Now I'd have to improvise when I pile
"earth" to the front.
I had some problems with my glue selection. It wasn't tacky enough to
remain in place between all the styrene and started leaking out the
bottom.
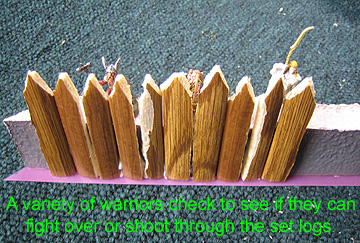
For the archers, I made sure there was a slight gap every two logs
(every inch), through which they could fire. Conversely, I placed the
uncut sides of every pair together so that defenders would have spots
out of sight of attackers.
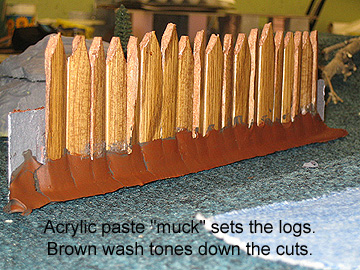
When the glue finally dried, I piled acrylic paste on the bottom and
base-coated it a nice clayey red. A bit of brown wash over the cut
parts of the batons toned them down a bit. I decided I liked it better
NOT toned down.
Note that I didn't glue batons all the way to the ends of the piece.
The spots on the sides are where styrene L-bead will be taped in order
to assemble all four pieces of the stockade fort when ready to play.
A bit of basecoat on the inside, and it's basically done but for all the lively details to make it good and fancy.